Embroidery digitization is the process of converting artwork into a digital file that an embroidery machine can read and stitch onto fabric. Mastering this skill requires a blend of technical knowledge, creativity, and attention to detail. Whether you’re a beginner or an experienced embroiderer looking to refine your skills, this guide will walk you through professional secrets for digitizing embroidery designs like an expert.
Understanding Embroidery Digitization
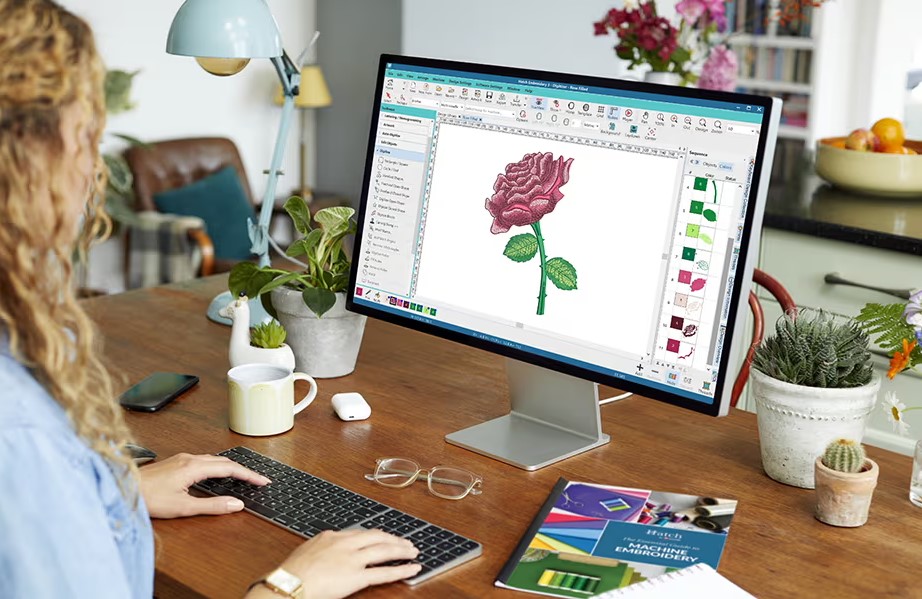
Before diving into expert techniques, it’s essential to understand what embroidery digitization entails. It involves translating an image or logo into a series of stitches that an embroidery machine can follow. This requires specialized software that allows you to manipulate stitch types, directions, and densities to create a flawless design.
Choosing the Right Embroidery Digitizing Software
One of the first steps in professional embroidery digitization is selecting the right software. Some popular options include:
- Wilcom – Known for its advanced features and precision control.
- Hatch Embroidery – User-friendly with powerful design tools.
- Brother PE-Design – Great for home embroidery enthusiasts.
- Embird – A budget-friendly option with strong capabilities.
Choosing the right software depends on your needs, budget, and experience level.
Essential Steps to Digitize Embroidery Designs Like a Pro
1. Select a High-Quality Image
The quality of your embroidery starts with the quality of your original image. Always use high-resolution images with clear details and clean edges. Avoid blurry or overly complex designs that may not translate well into stitches.
2. Choose the Right Stitch Type
Professional digitizers know that different parts of a design require different stitch types. Here are the three main stitch types used in embroidery digitization:
- Satin Stitch – Best for lettering and outlines, providing a smooth and shiny finish.
- Fill Stitch – Ideal for large areas, creating texture and depth.
- Running Stitch – Used for fine details and outlines, requiring minimal thread.
3. Adjust Stitch Density and Underlay
Proper stitch density ensures that the design is neither too loose nor too tight. A well-balanced stitch density prevents puckering and thread breaks. Additionally, adding an underlay (a base layer of stitching) stabilizes the fabric and improves the final output.
4. Consider Fabric Type and Stabilizers
Different fabrics require different digitization techniques. For example:
- Knits and stretchy fabrics need extra underlay to prevent distortion.
- Denim and heavy fabrics require fewer stitches but stronger stabilization.
- Delicate fabrics like silk may need a light touch with minimal stitch density.
Using the right stabilizer (backing material) prevents shifting and ensures a clean finish.
5. Set the Right Stitch Direction
The way stitches lay on the fabric affects the design’s look and durability. Adjusting stitch angles ensures a natural flow and avoids unnatural gaps or bunching. Professionals often test different stitch angles to achieve the best visual effect.
6. Test and Refine the Design
Even experienced digitizers test their designs before finalizing them. Running a test stitch on scrap fabric allows you to identify and fix any issues before stitching the final product. Make adjustments to:
- Thread tension
- Stitch density
- Underlay settings
7. Use Colors Strategically
Professional embroidery digitization isn’t just about structure—it’s also about aesthetics. Selecting the right thread colors enhances the design’s vibrancy and ensures readability. Some embroidery software includes color blending tools to create smooth transitions and shading effects.
Common Mistakes to Avoid in Embroidery Digitization
Even seasoned digitizers can make mistakes. Here are some common pitfalls to watch out for:
- Overcomplicating Designs – Small, intricate details may not translate well into stitches.
- Ignoring Fabric Type – Not adjusting for fabric stretch or thickness can ruin a design.
- Incorrect Stitch Direction – Misaligned stitches can make the embroidery look unprofessional.
- Skipping Underlay – Lack of underlay can lead to distortion and uneven stitches.
- Using Too Many Colors – Excessive color changes can slow down the embroidery process and make designs look cluttered.
Pro Tips for Perfect Embroidery Digitization
- Keep It Simple – Clean, bold designs with well-defined edges stitch better.
- Use the Right Needle – Different needles work better on different fabrics.
- Optimize Stitch Length – Shorter stitches improve detail, while longer stitches cover more area quickly.
- Group Color Sequences – Reducing thread changes saves time and ensures a smoother workflow.
- Invest in Training – Consider taking courses or reading books like “Digitizing Embroidery by Digitizing Buddy” to improve your skills.
Final Thoughts
Embroidery digitization is a mix of art and science. By understanding stitch types, fabric interactions, and proper software techniques, you can create professional-quality designs. Practice, test, and refine your approach to ensure high-quality results. Whether you’re digitizing for personal projects or commercial embroidery, mastering these professional secrets will elevate your embroidery game to expert level.